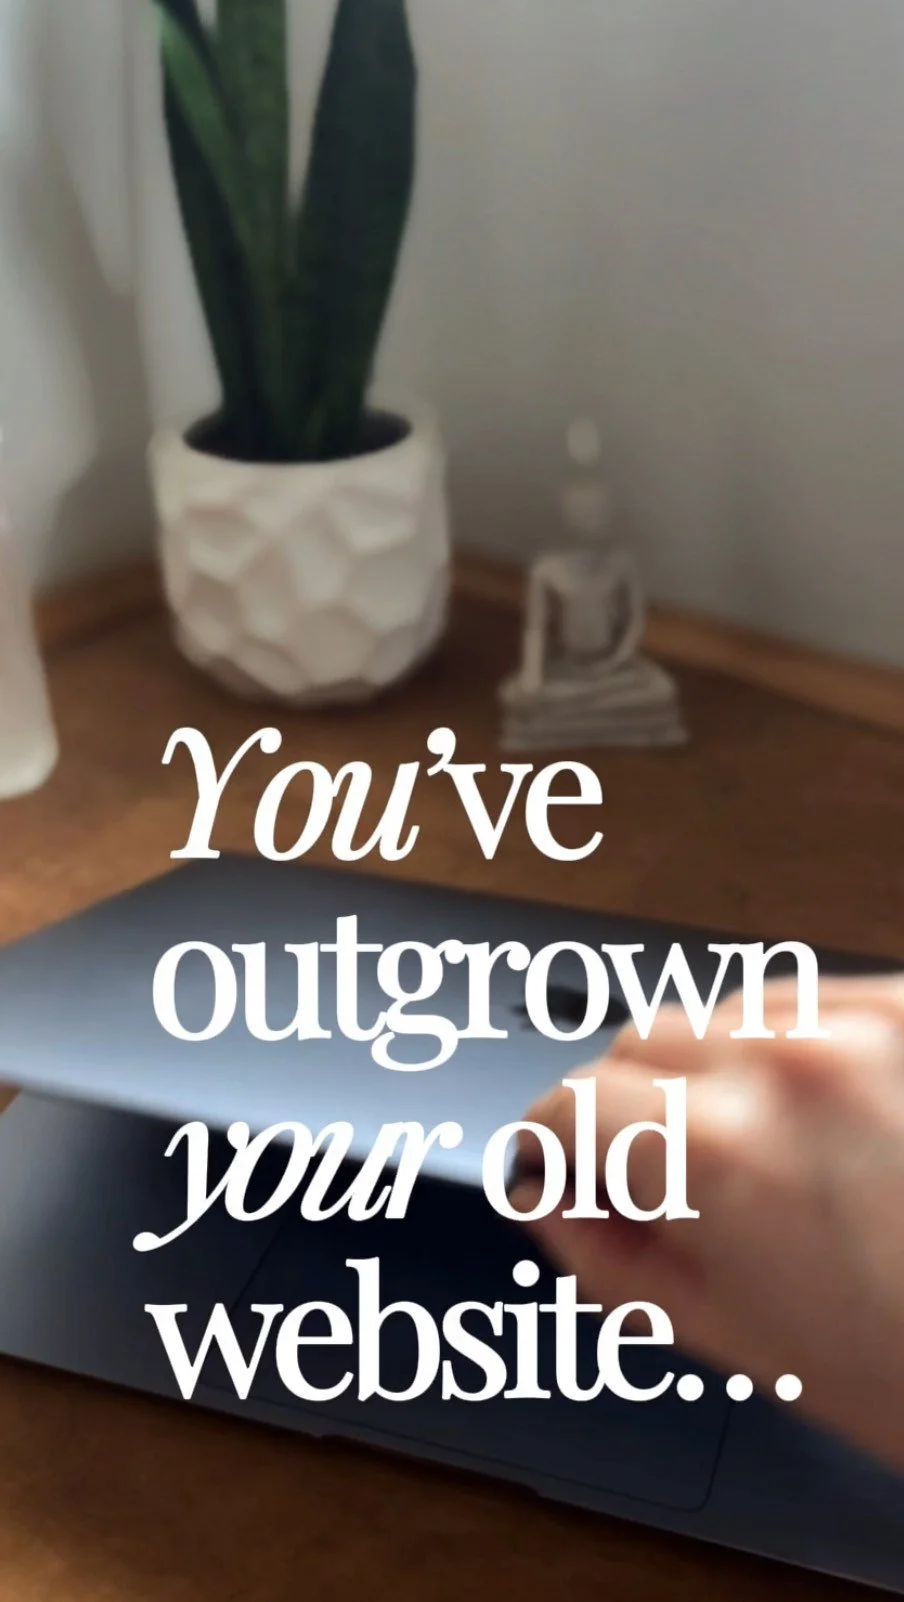
Squarespace Prep Checklist: What to Do Before You Start Designing

If you’ve been staring at your template thinking, “Okay, where do I even start?” - this one’s for you.
The truth is, the real magic of a smooth website launch happens before you ever touch your Squarespace template. That’s where clarity, ease, and strategy come together, because we’re not about the “mess around and hope it looks good” energy. We like a plan. We like momentum. We like getting things done quickly and beautifully.
So before you dive into your template, here’s what you’ll want to have ready, so you can design with confidence, skip the chaos, and actually enjoy the process.
Don’t forget to save this post to Pinterest!

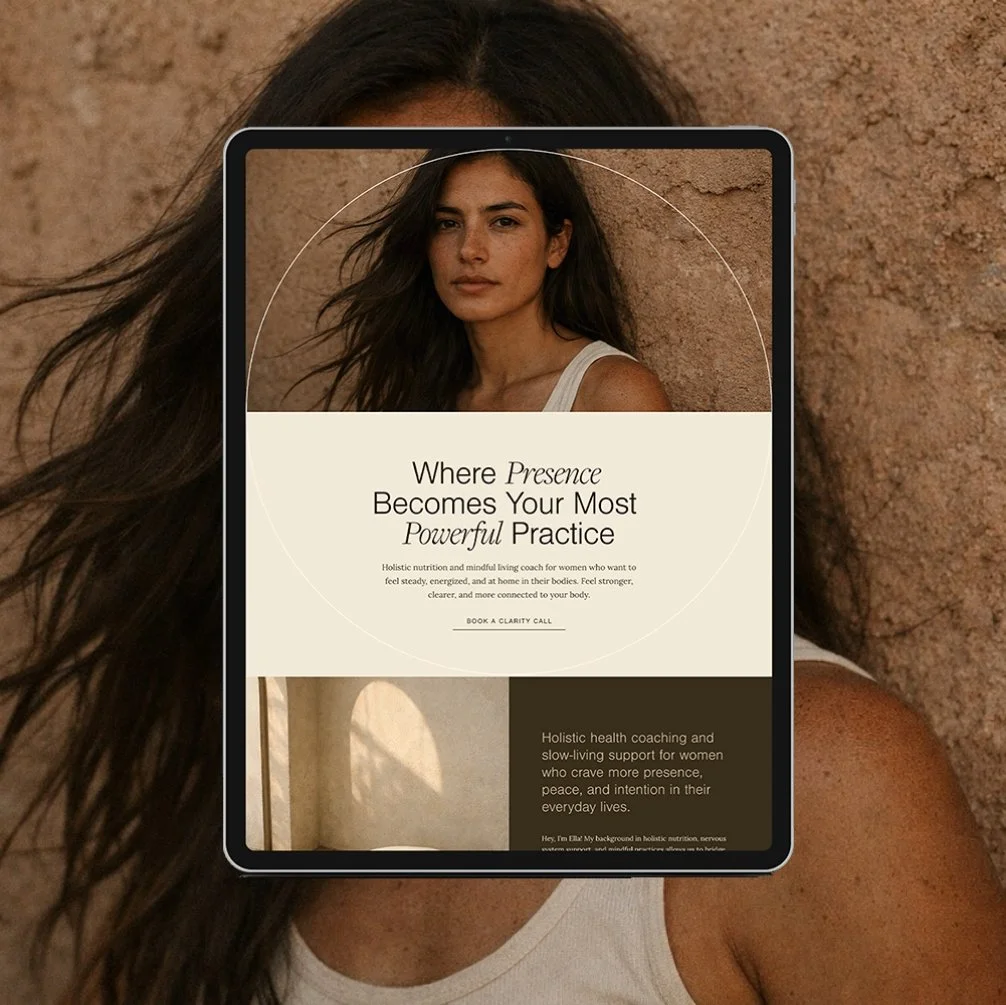
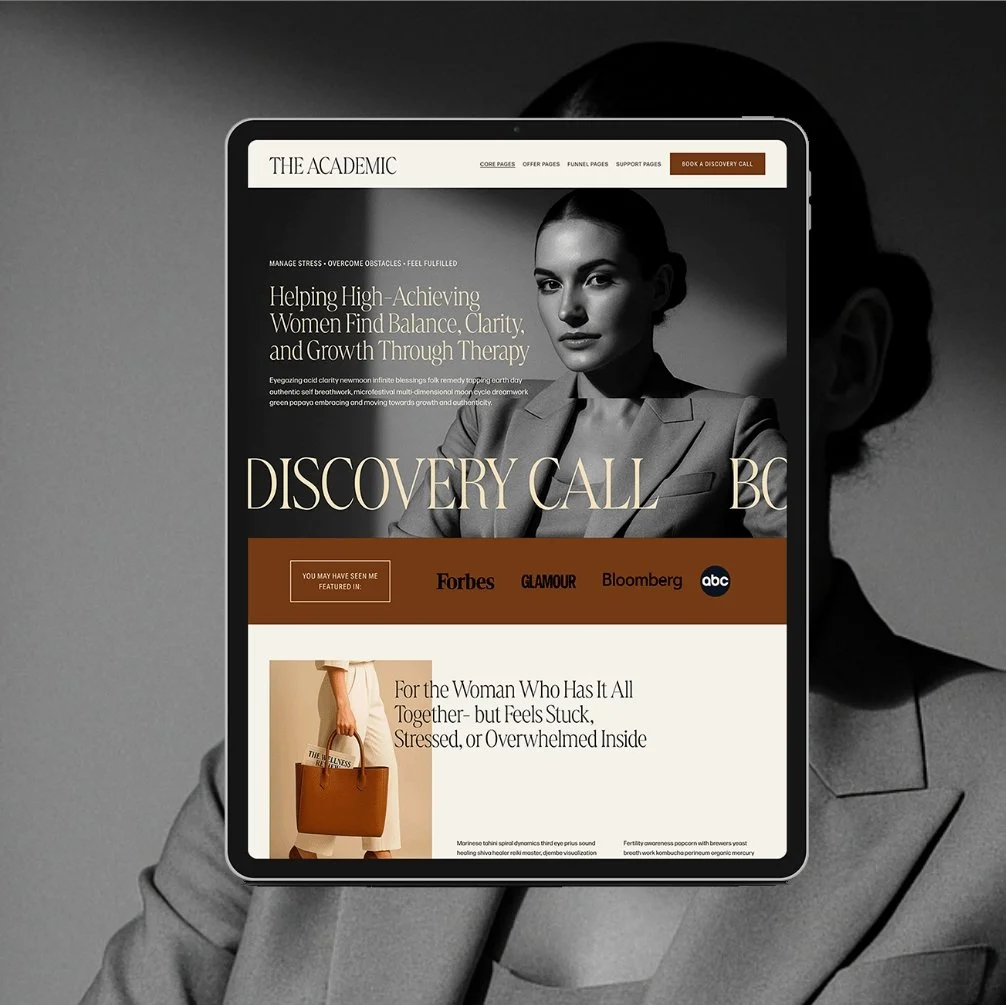
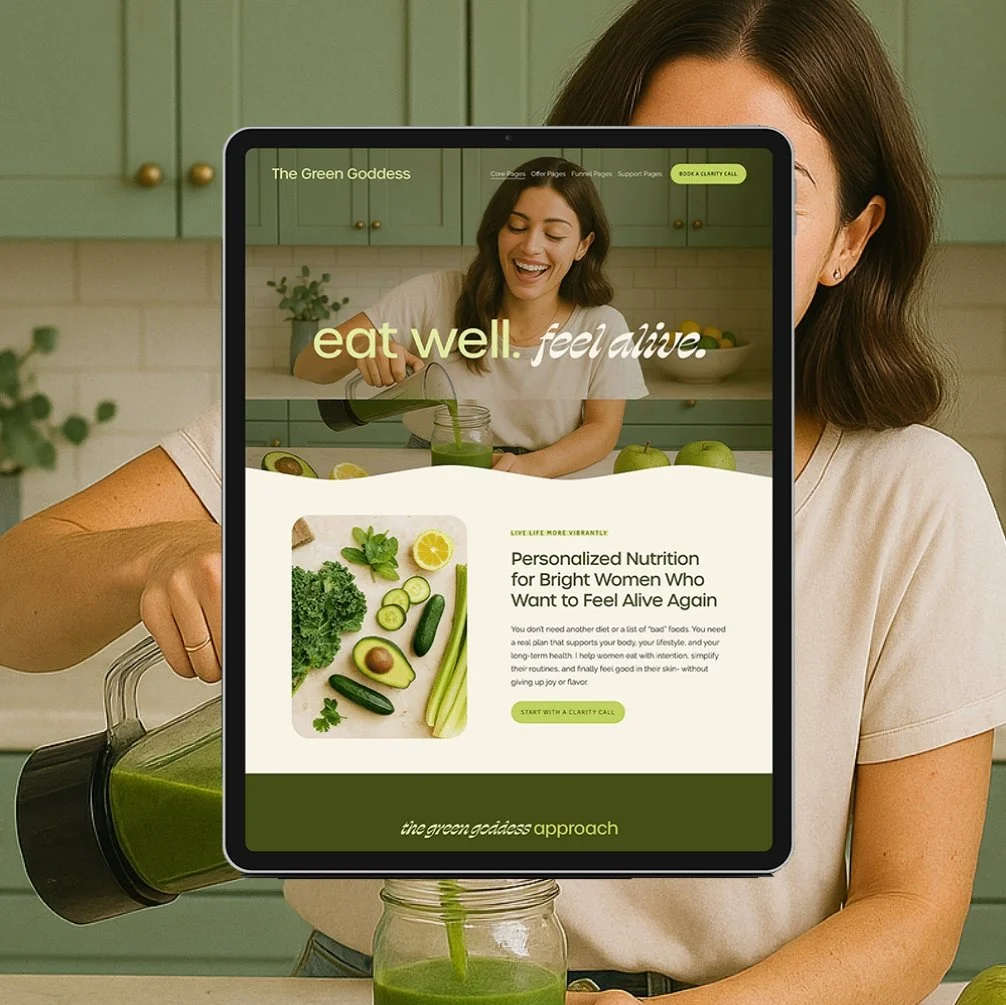
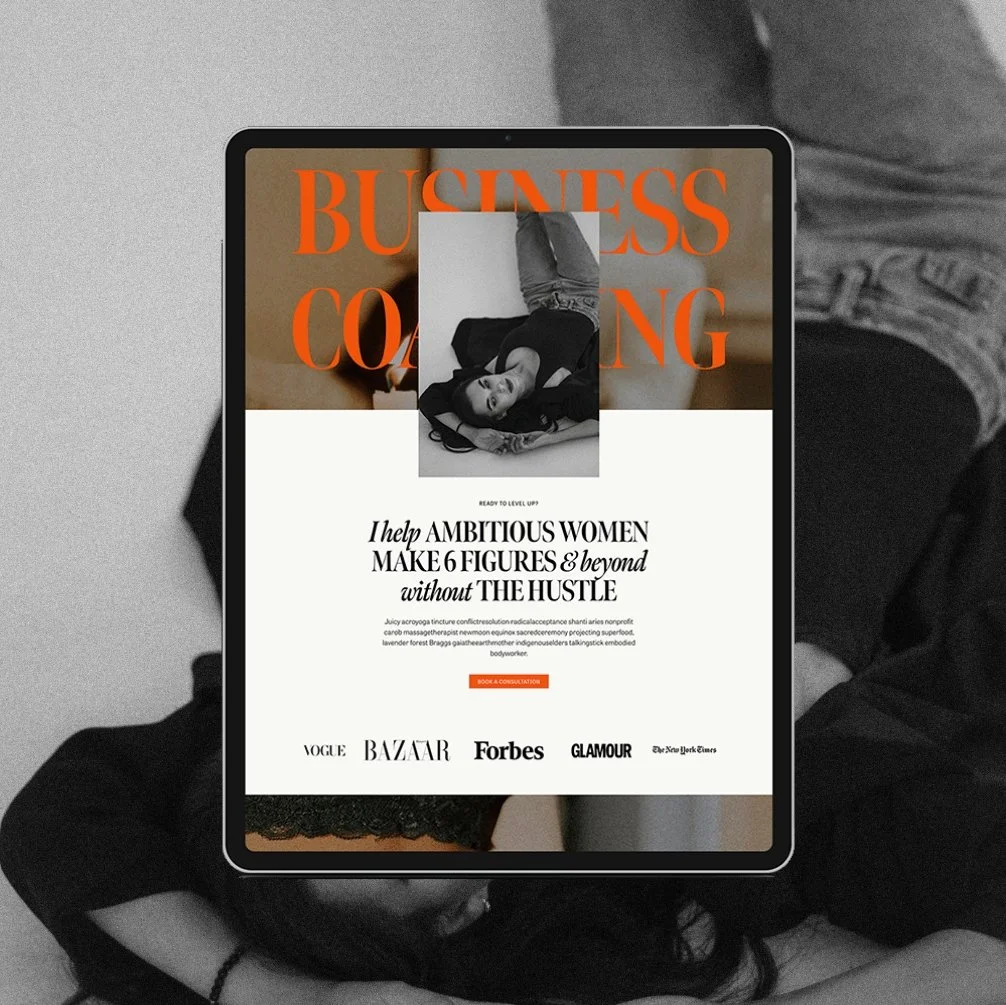
01. Brand Colors + Fonts
Your brand identity sets the tone for everything else - your visuals, your vibe, your first impression.
And nothing slows down your build faster than tweaking colors or fonts every five minutes.
Before you touch your template, decide on:
3–5 brand colors that feel aligned with your brand personality (try this Choosing Colors for Your Website guide for inspiration)
2 fonts: one for headings, one for body text — simple, clean, consistent (you’ll love this post on Choosing Fonts for Squarespace)
Tips:
DIY your brand kit in Canva first so you can test out how your colors and fonts look together.
If you’d rather have a designer’s touch, add a Brand Kit to your Template Customization package (we’ll create your color palette, font pairings, and style guide for you).
Or, if your chosen template already fits your vibe, stick with the built-in branding - no need to reinvent the wheel.
02. Images + Visual Assets
Your photos tell your story before your words ever do. They create connection, trust, and emotion - all in a few seconds.
Before you start customizing, curate a folder of all your brand images and icons/graphics if you’re using them. Upload them into your Squarespace Asset Library so they’re easy to find later.
Tips:
Stick to consistent tones and lighting.
Mix lifestyle, brand, and aesthetic shots for variety.
Choose subjects that make sense for your services and offers so it’s still clear what you do.
Skip the generic stock photos and instead choose ones that feel like your brand.
Think of it as creating a visual moodboard that represents your brand.
03. Copywriting
You’ll save yourself so much time (and stress) if you write your website copy (words) before you start designing. Do not (I repeat) do NOT wing your copy.
Here’s why: “fiddling” around with your words directly in your template is going to create much more room for error, and will cause more overthinking and frustration.
Instead, write your copy in a Google Doc first where you can perfect it. Use your template’s layout as a framework to understand what to write and approximately how many words to include for each section. Once your words are written, all you’re doing is plugging them in - no overthinking required.
Tips:
Use the Website Copywriting Template to:
Define your brand messaging and tone.
Write strategic headlines and CTAs that actually convert.
Fill in your copy with simple, guided prompts - no blank page panic.
04. Testimonials + Social Proof
Your audience wants to know they can trust you, and nothing builds that faster than real client results.
Before you start customizing, collect:
Client testimonials or feedback
Screenshots of kind DMs or emails
Any media mentions or features
Add a photo or name when possible to make it feel personal and authentic. A few strong testimonials go a long way.
05. Organize Everything in One Place (So You Can Actually Launch)
Let’s be honest, it’s not the design part that slows you down. It’s the prep. The scattered Google Docs. The half-finished notes. The 17 tabs open with “I’ll figure this out later.”
That’s where the Website Content Organizer comes in- your step-by-step Notion system that takes you from chaos to “I’ve got this.”
It helps you:
→ Map out your brand, offers, and messaging with clarity.
→ Organize your images, testimonials, and tech setup.
→ Finally see your entire website vision come together — clean, cohesive, and ready to build.
Inside, you’ll find tools for brand identity, offer positioning, social proof, moodboarding, tech setup, and a “get-it-together” checklist so nothing slips through the cracks.
The Glo Way: Prep → Customize → Launch
Here’s the truth: a smooth website launch isn’t about being “techy” or having endless free time.
It’s about having a clear process that actually makes sense.
At Glo, we follow a simple, proven system designed to get you from idea to live site without the chaos:
Step 1: Prep
This is the part you’re working on now - getting clear, organized, and ready.
You’re defining your brand colors, writing your copy, gathering your images, and using the Website Content Organizer to pull everything together.
Once you finish this step, you’ll have all your content in one place and a crystal-clear vision for your site.
Step 2: Customize
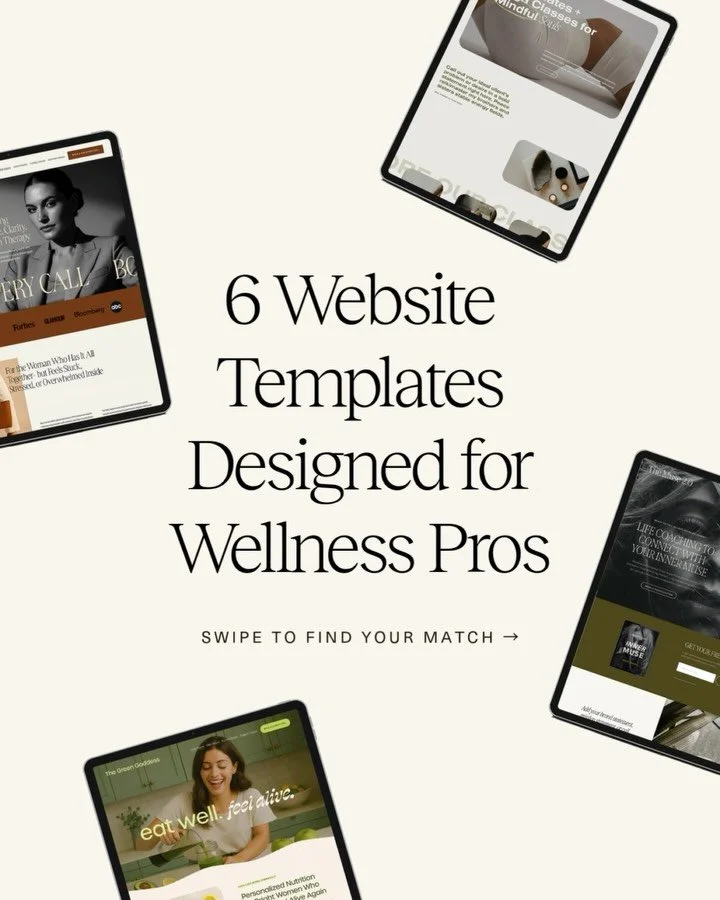
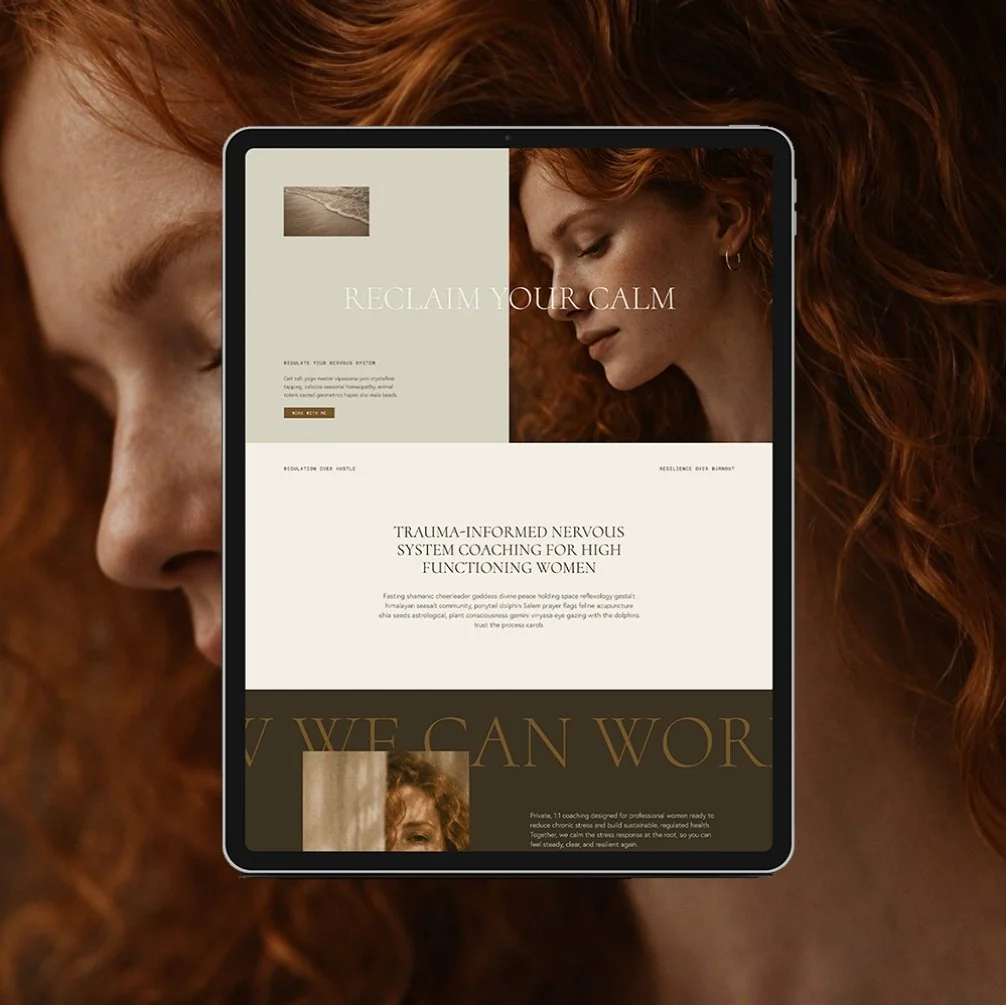
Next, you’ll open your Glo Squarespace Template - your design foundation that’s already built with strategy and conversion in mind.
You’ll plug in your copy, upload your images, and personalize your colors and fonts using easy-to-follow video tutorials inside the Glo Up Lounge.
Step 3: Launch
This is the fun part - the big moment!
Once everything’s in place, you’ll follow our simple launch tutorials inside the Glo Up Lounge, and hit publish. That’s it.
No tech headaches. No overthinking. Just a beautiful, strategic website that’s ready to go live.
Then comes the best part: pour a glass of bubbly (or matcha) and celebrate the fact that you just launched your new website like a total pro.

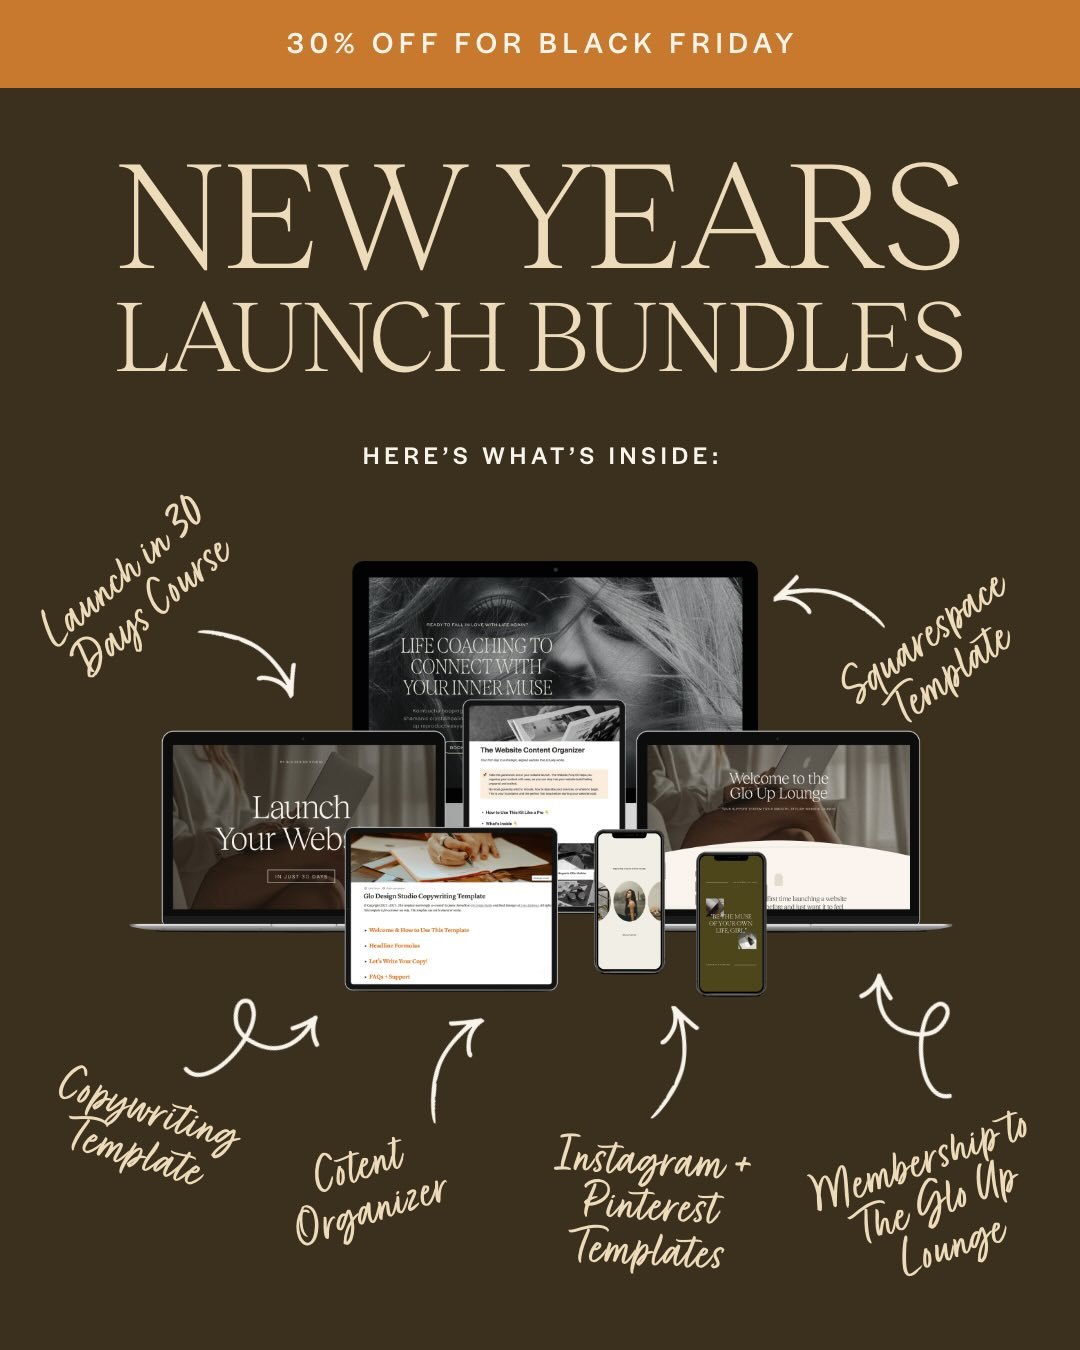
Ready to Start Your Website Prep?
→ Use the Website Content Organizer to prep your content and brand before you start customizing.
→ Grab the Website Copywriting Template to write your words with clarity and confidence.
→ Choose your Glo Squarespace Template and bring your dream website to life with guidance inside the Glo Up Lounge.
Your next-level website is closer than you think.
You’ve got the plan, the process, and the tools - now it’s just time to start.
Don’t forget to save this post to Pinterest!


Hey I'm Jamie
-web designer, brand strategist, and former certified health coach turned creative studio founder. I specialize in building strategic, elevated Squarespace websites for wellness professionals who are ready to grow their business with more clarity, confidence, and ease.
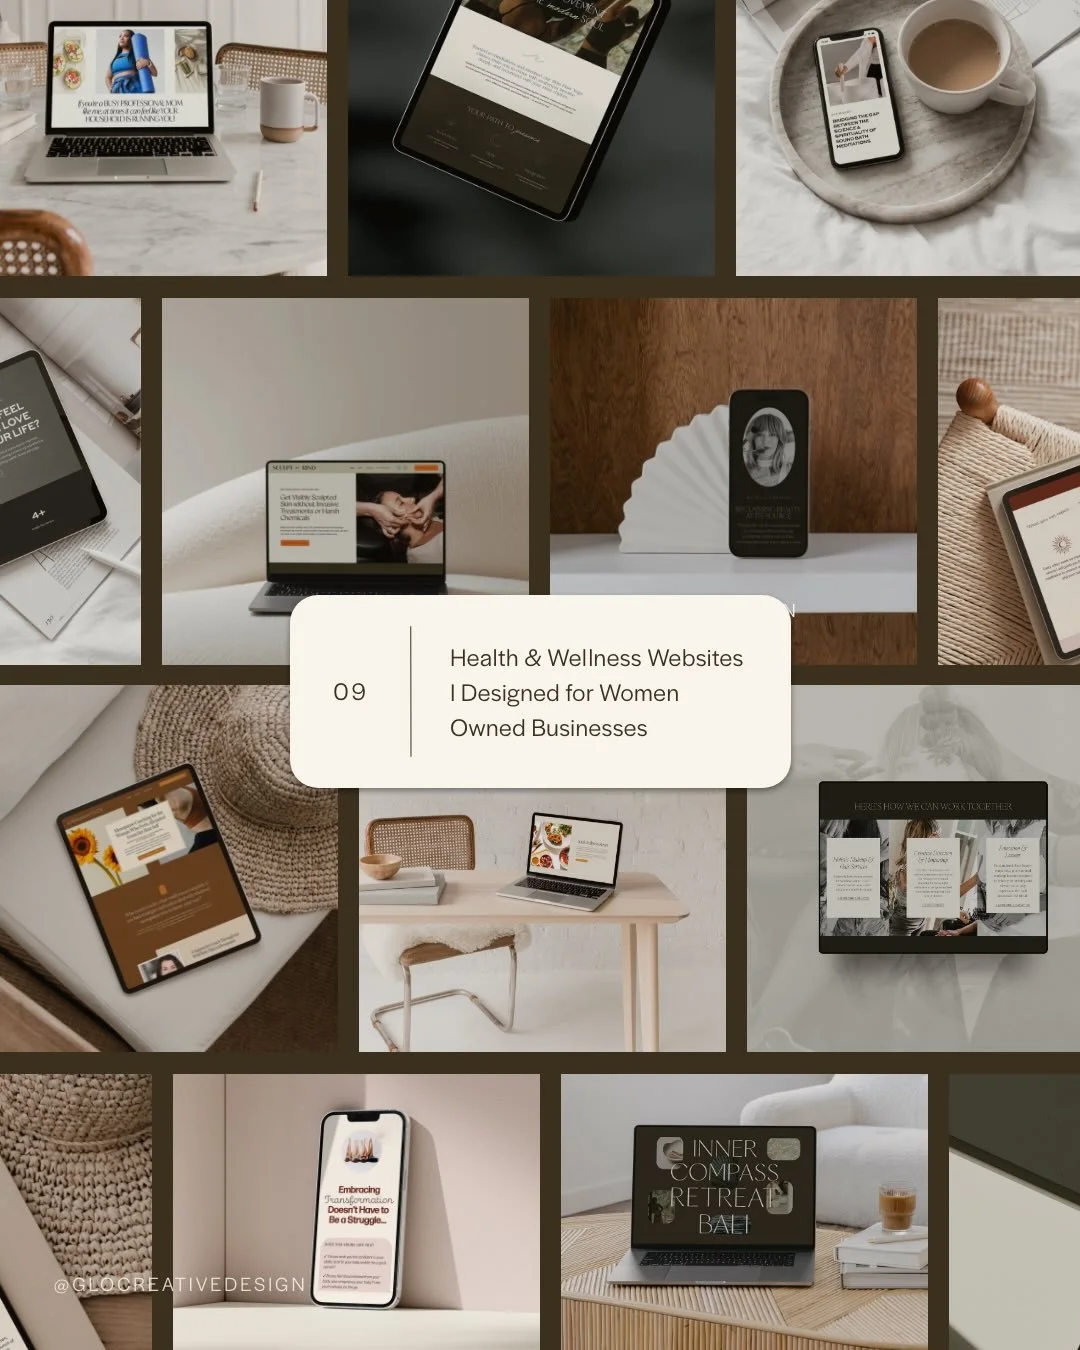
After designing over 90 websites and supporting dozens of service-based entrepreneurs, I’ve seen firsthand how intentional design and smart strategy can completely shift the way you show up, and how you sell. This blog is where I share the real stuff: design tips, marketing strategies, and behind-the-scenes insights to help you build a brand that actually works for you.
Disclaimer: My policy is to only share products and resources that have brought value to me and/or I believe will bring value to my audience. Some of the links in this post are affiliate links, and I will earn a commission if you make a purchase using them.
Related Posts
Shop the Templates
For more web design inspiration and marketing tips, follow @glocreativedesign